World / 08 / FIELD NOTE
Mortal Shell 2 Map Strategy Guide: Fragments, Beacons & Route Order
A practical Mortal Shell 2 map strategy: reveal regions with Ruk fragments, cleanse Beacons, route Shells and weapons, hide boss spoilers and finish the world without backtracking.
Open the interactive map · Read the Beacon route · Follow the story order
Map strategy visual references
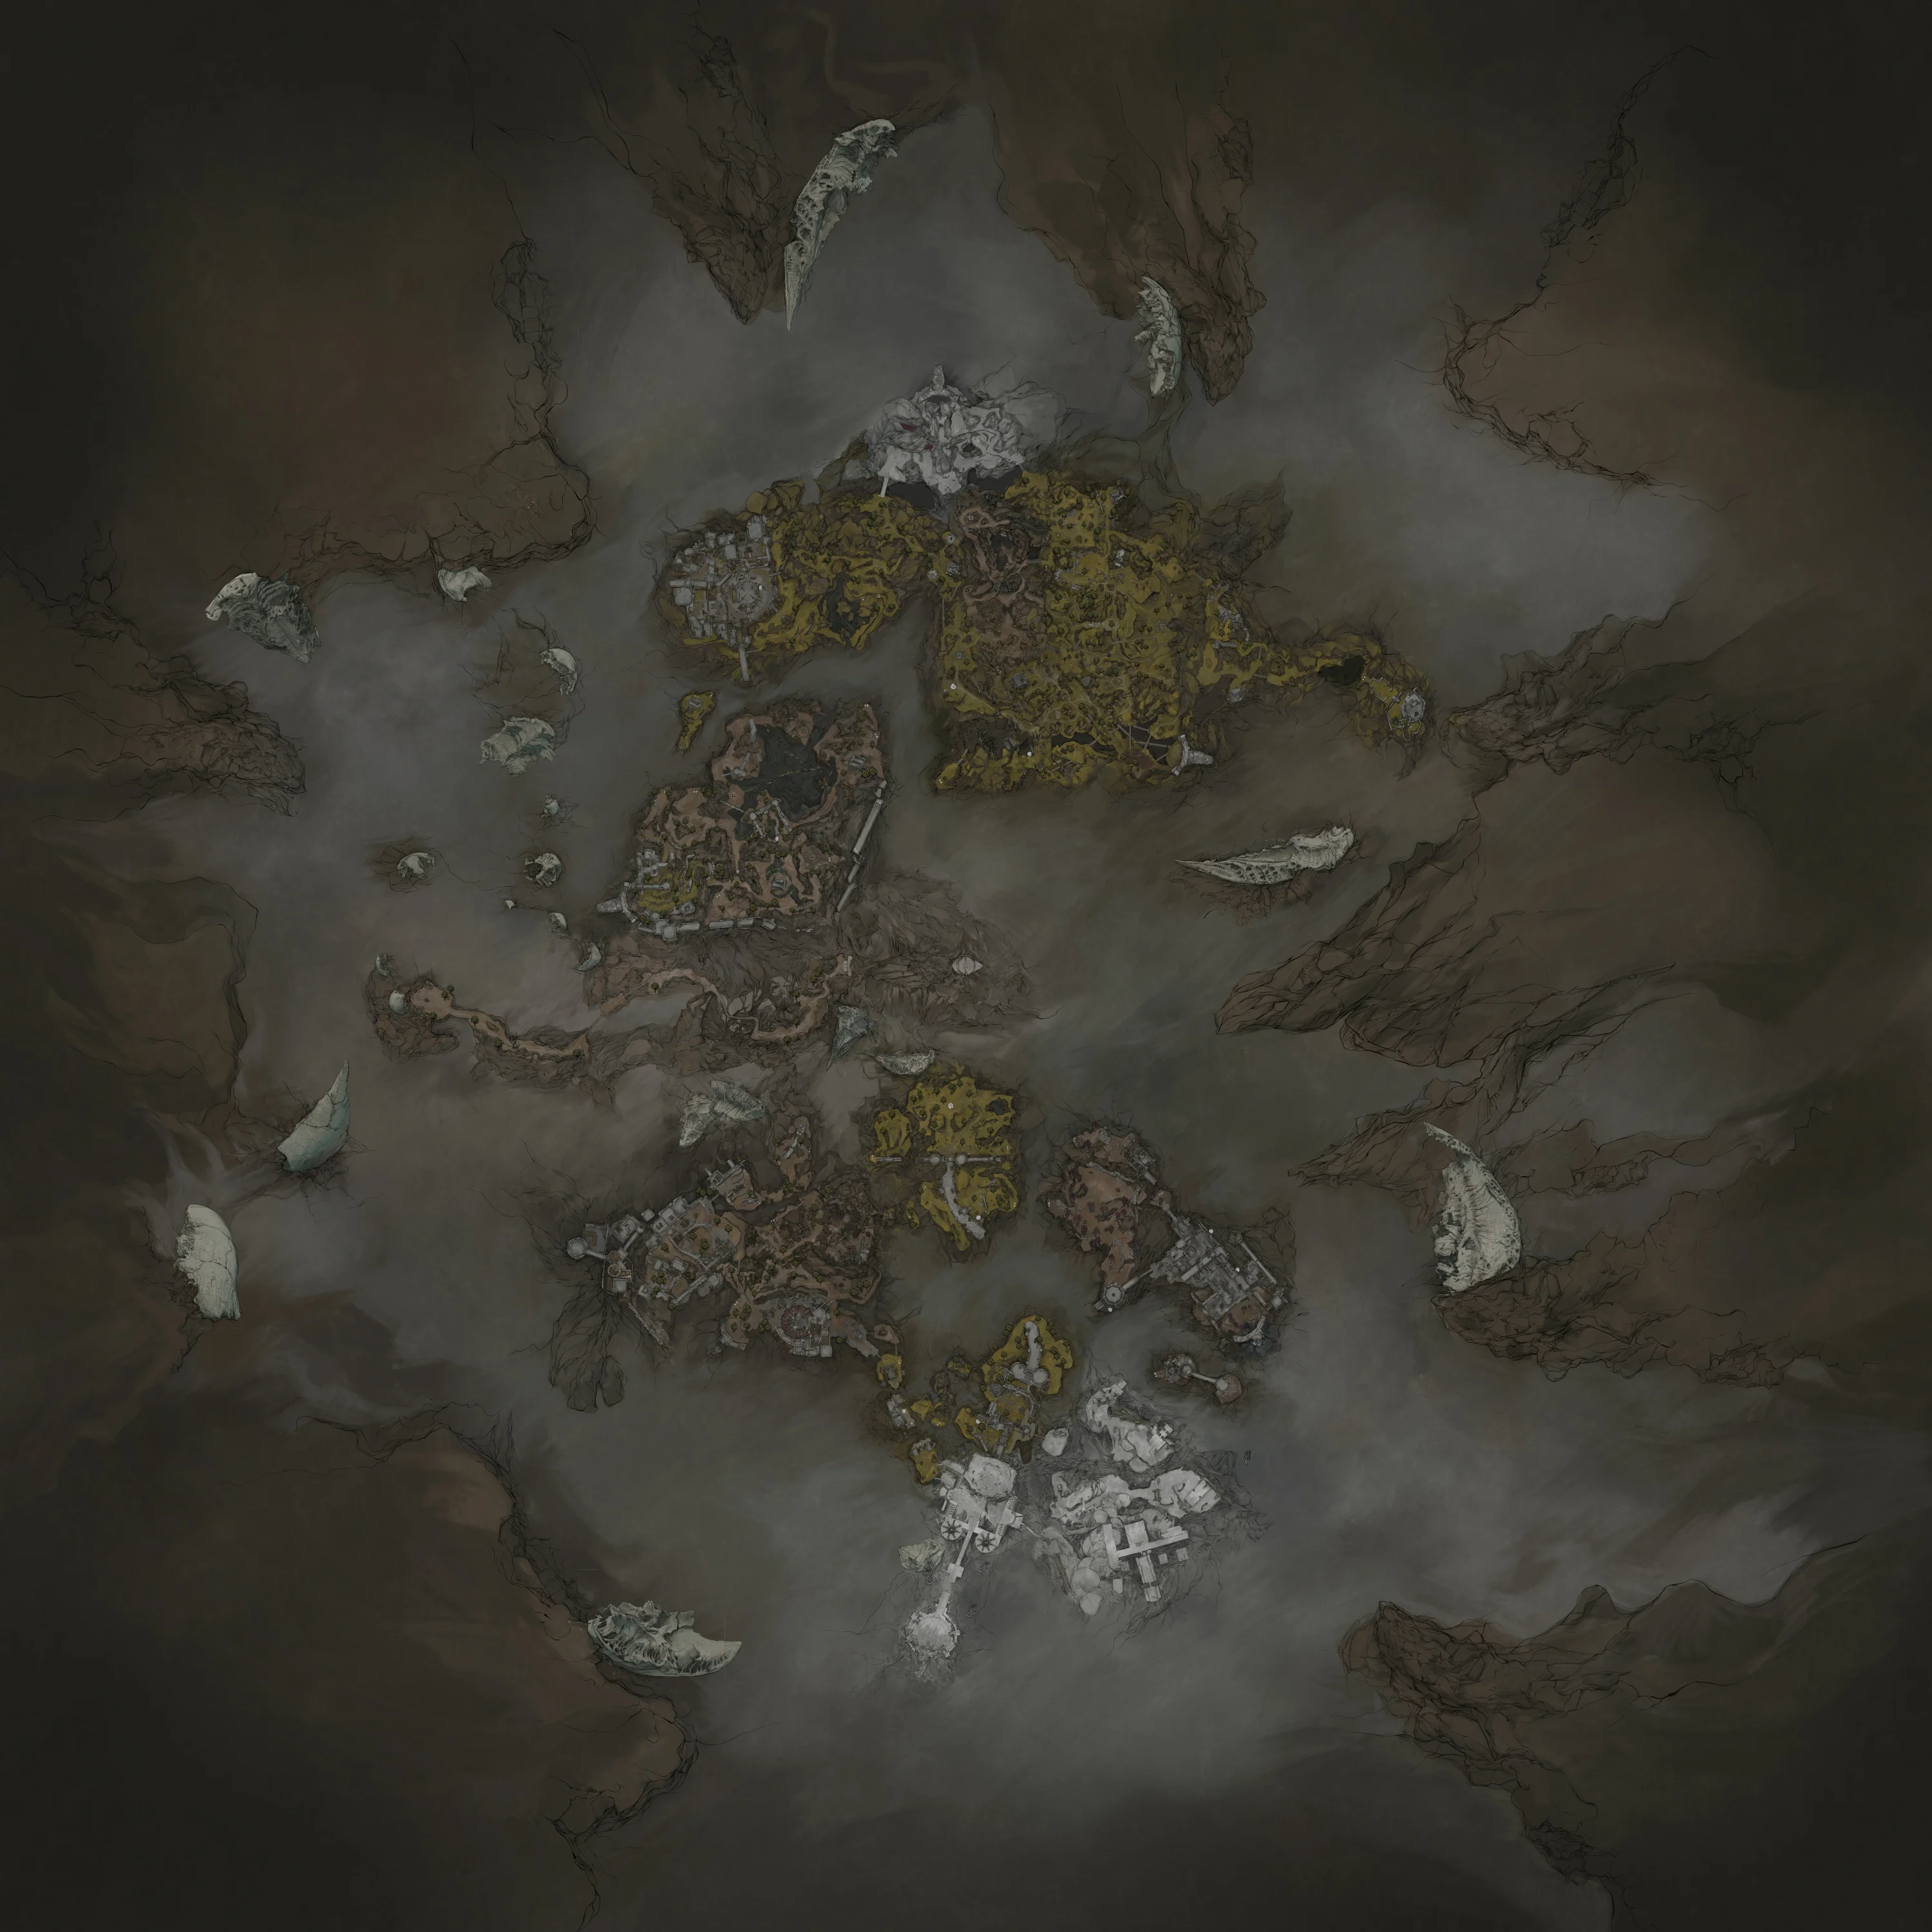
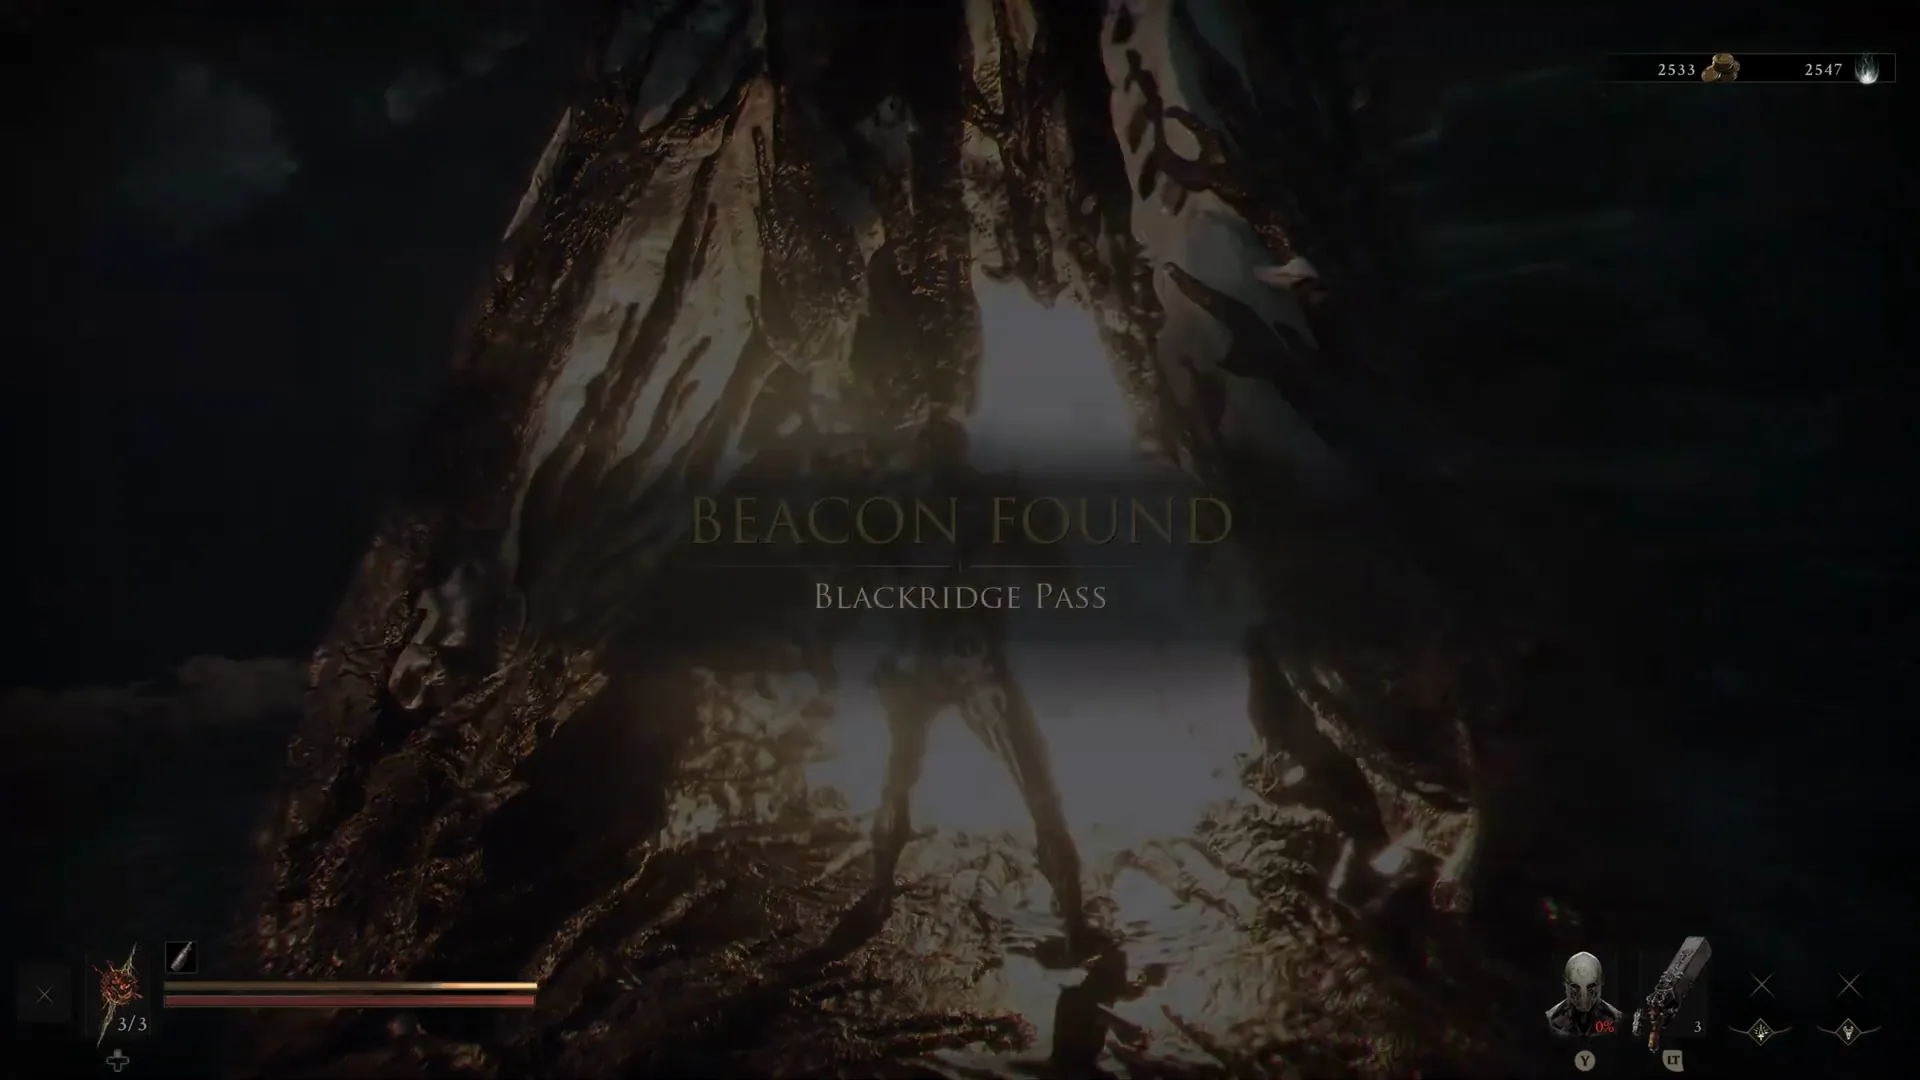
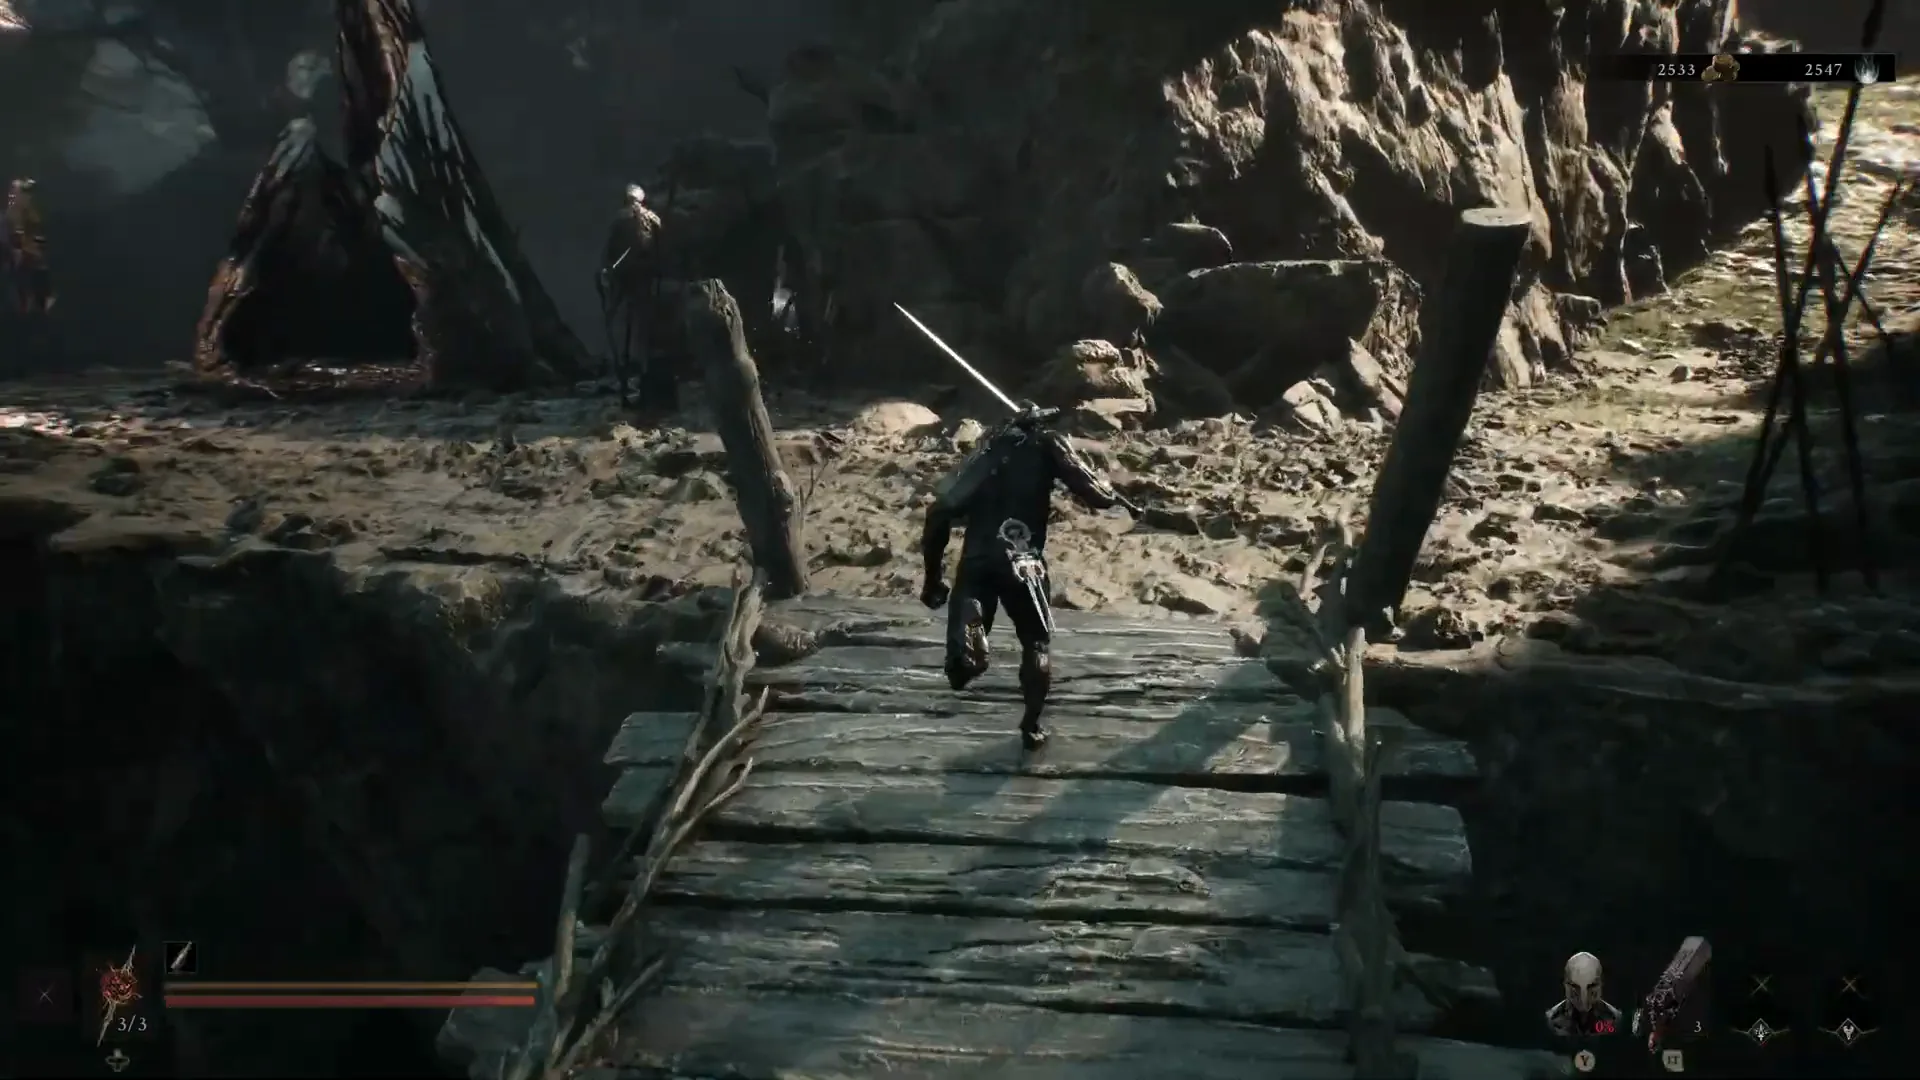
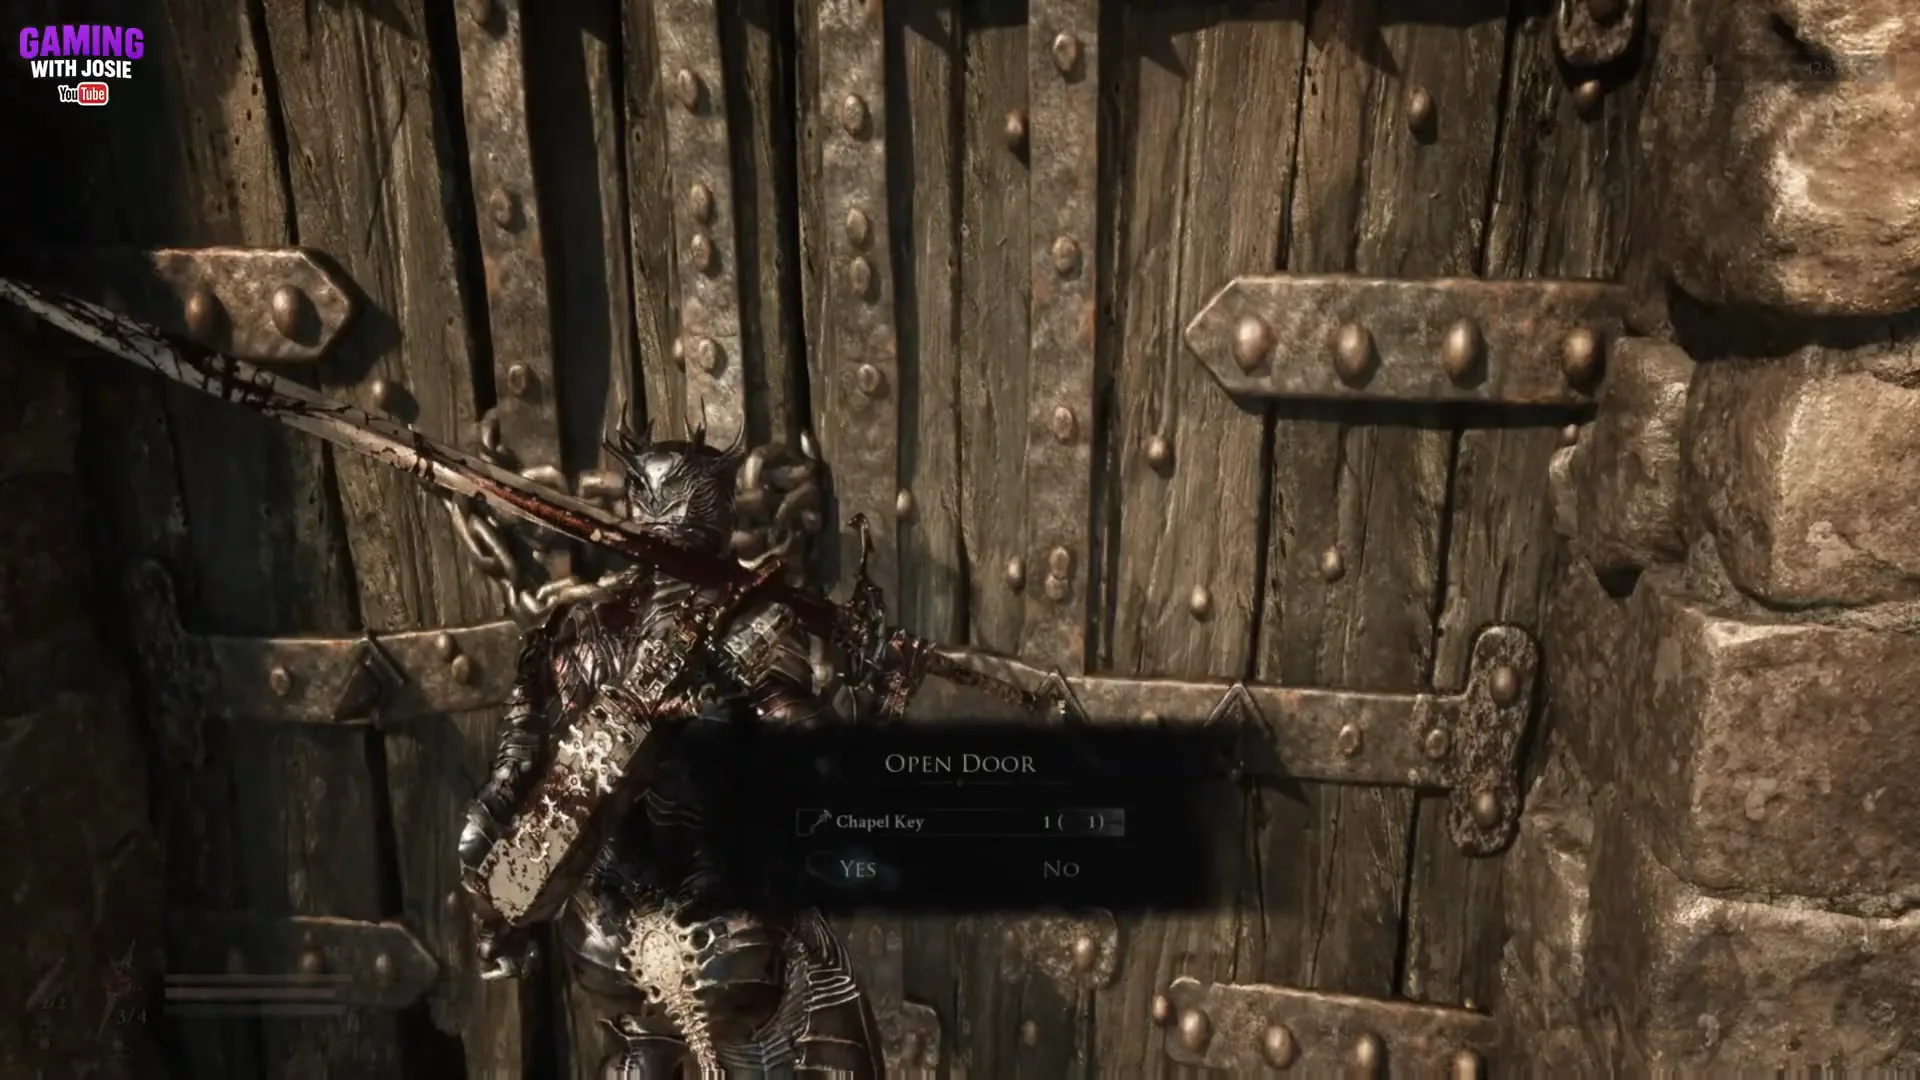
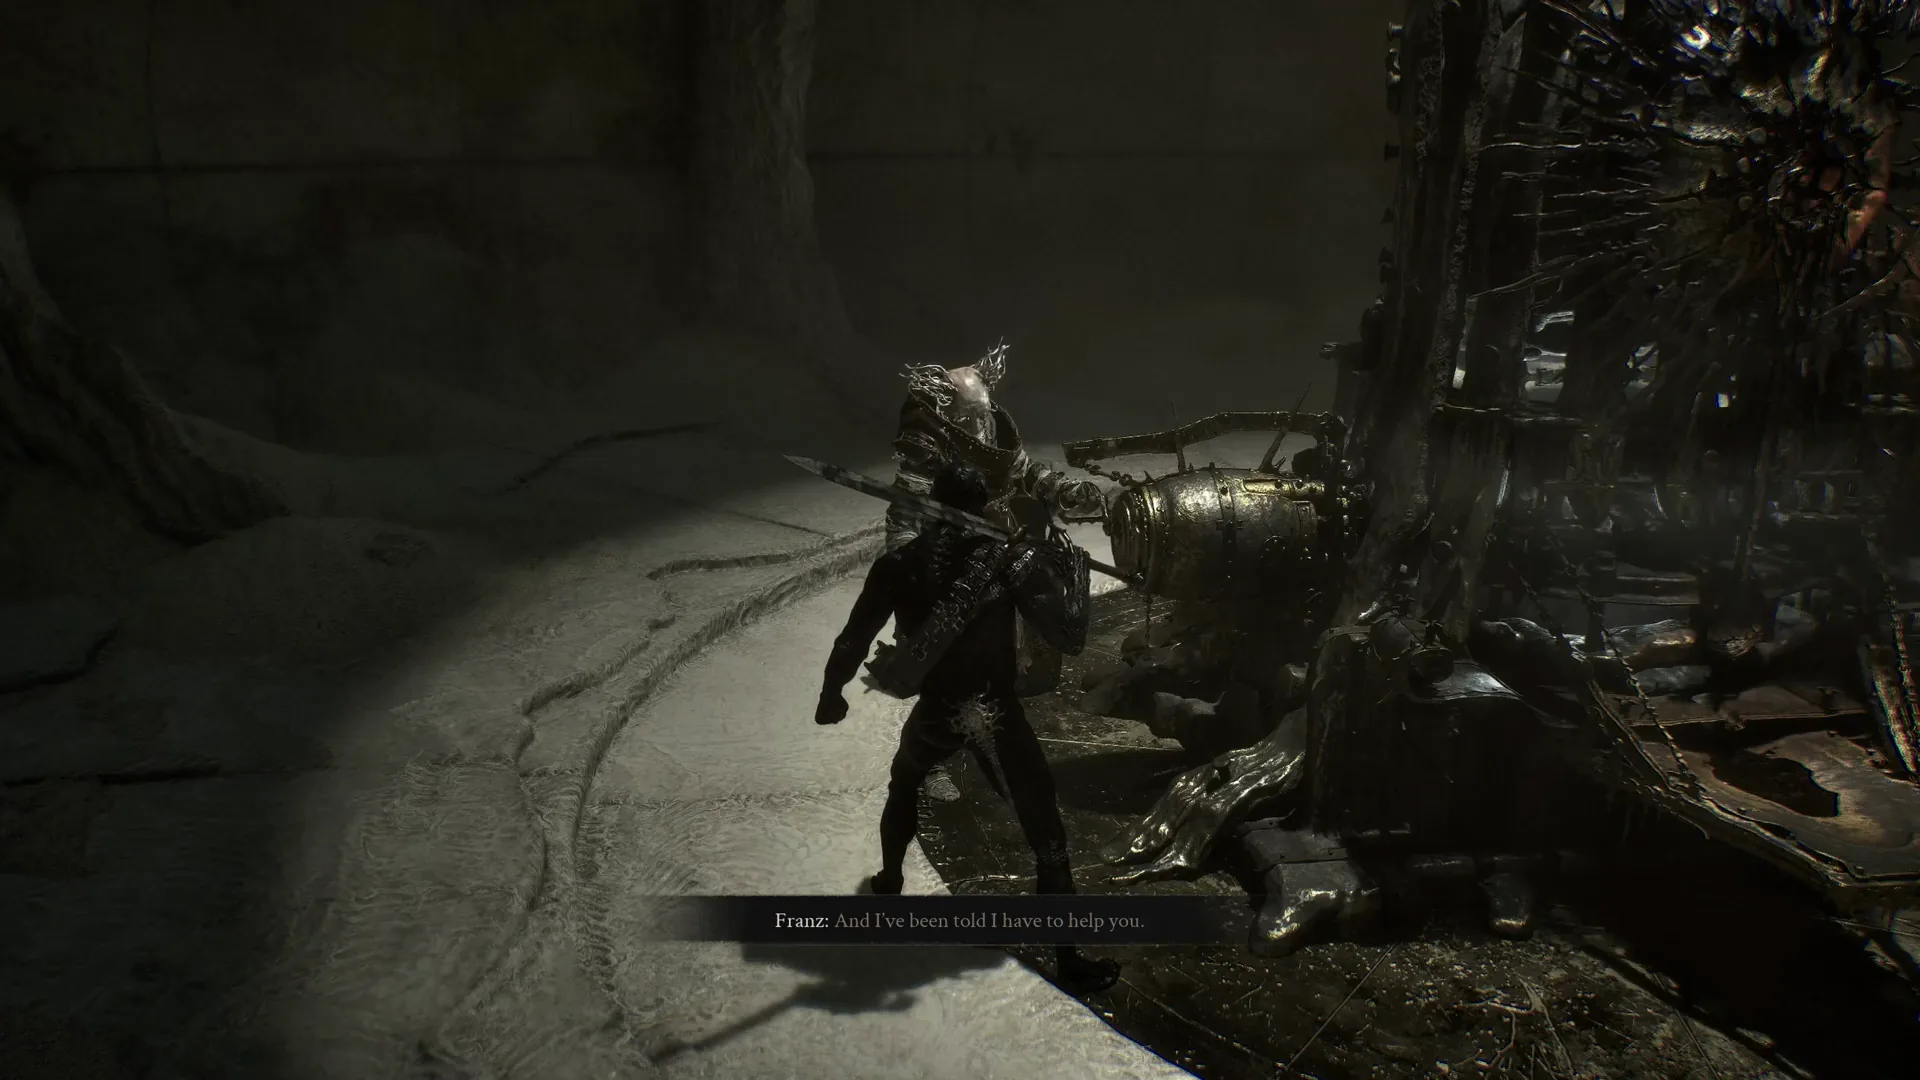
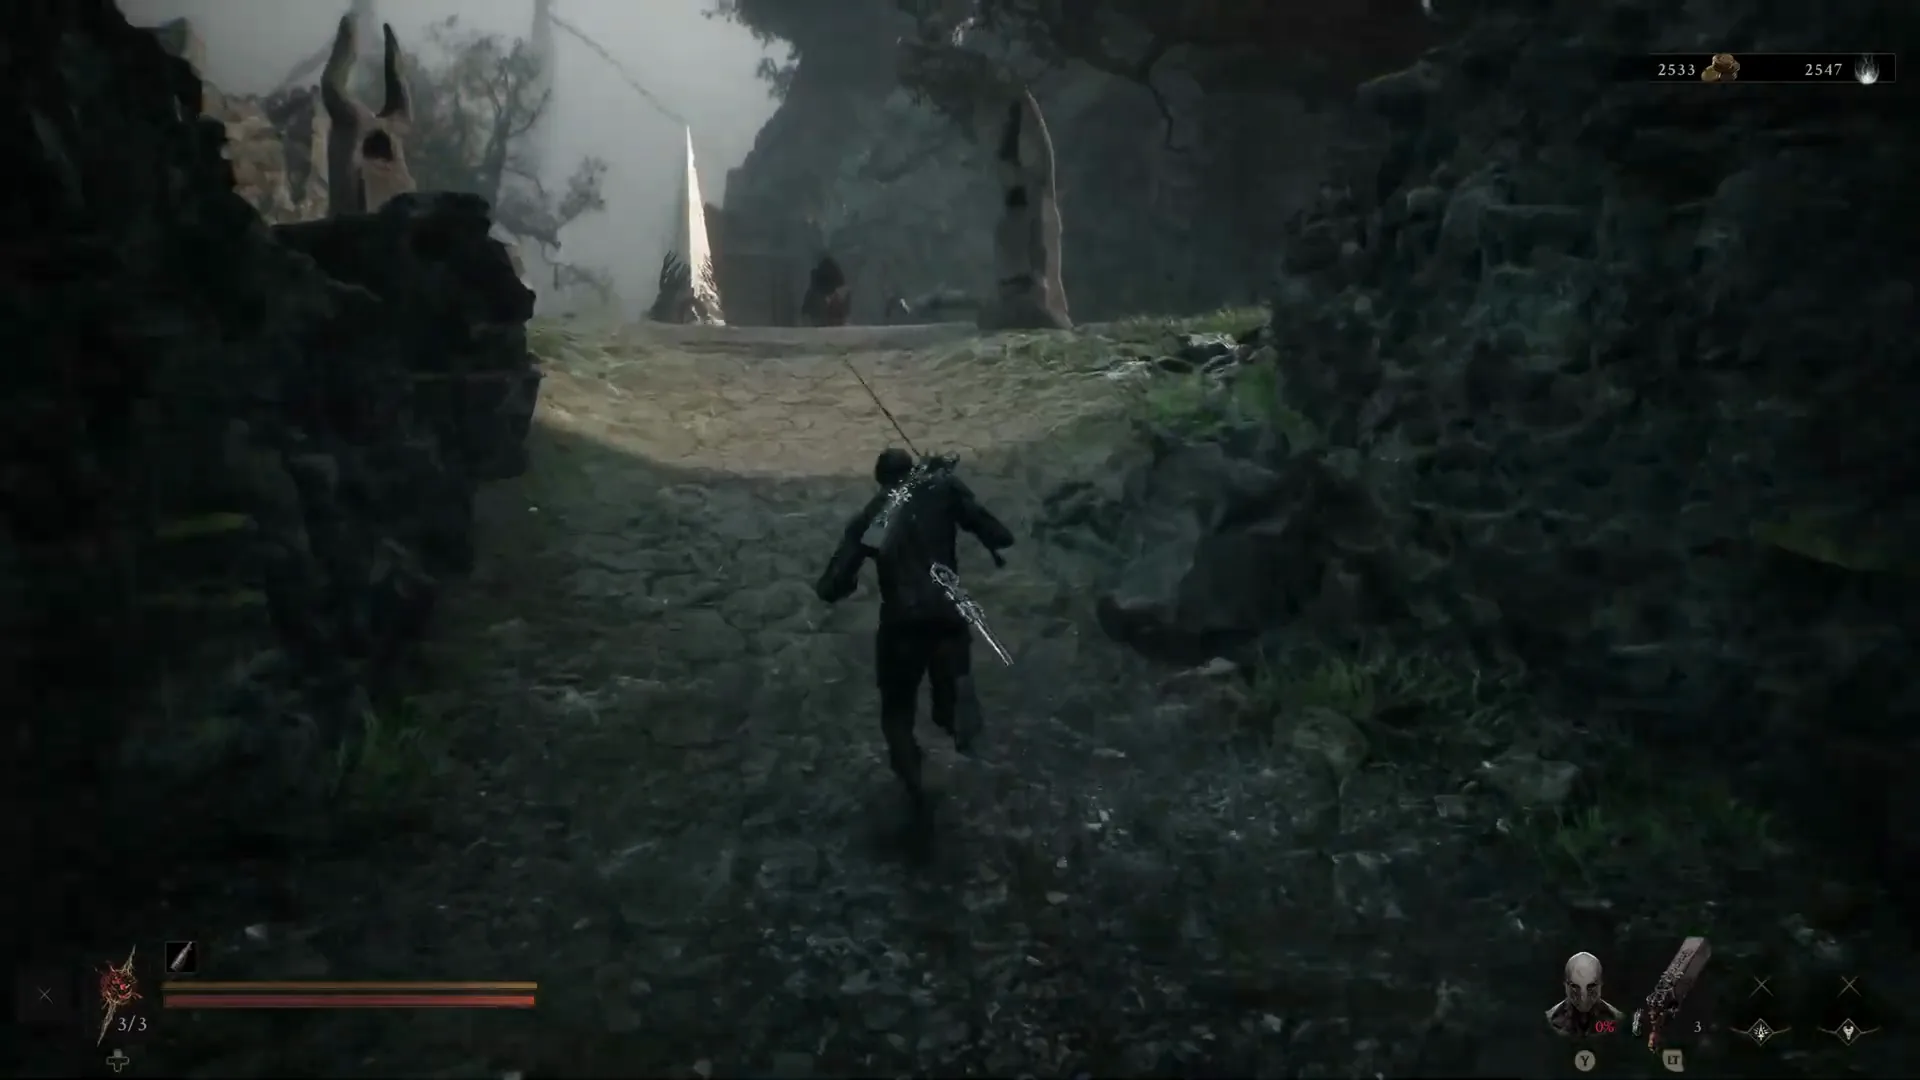
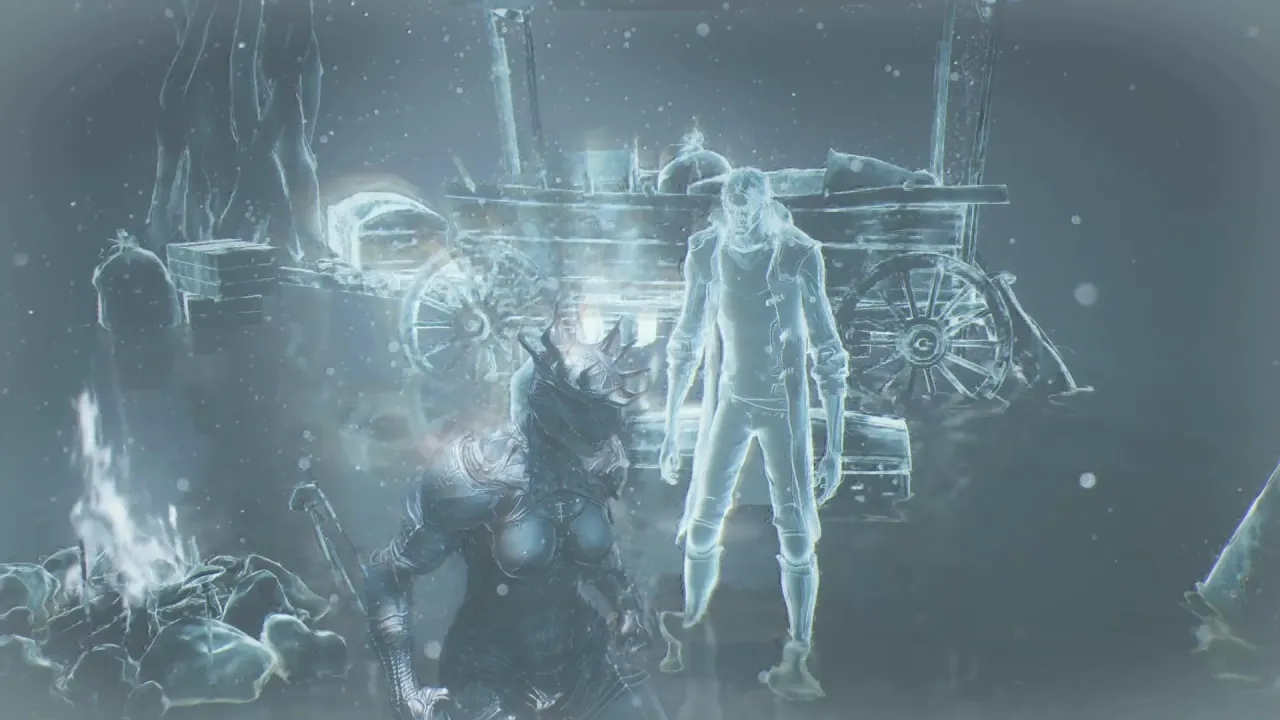
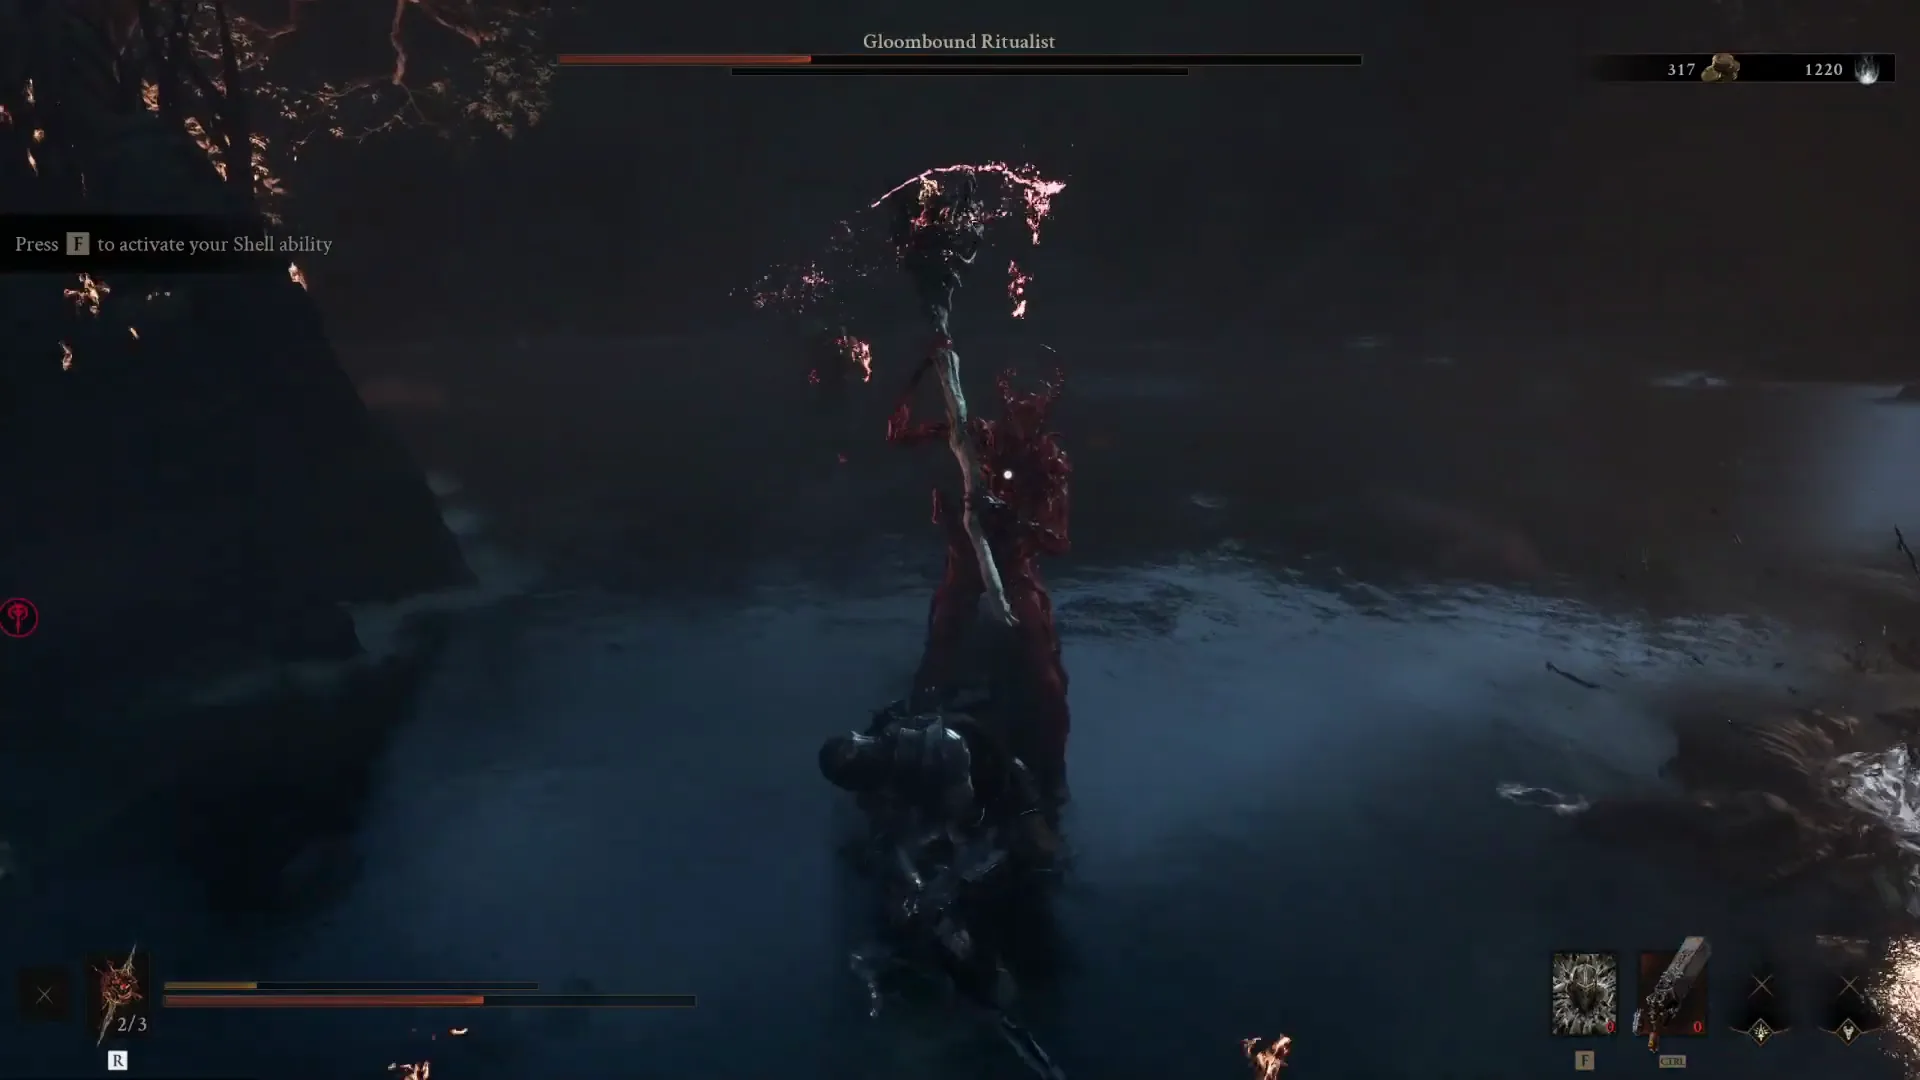
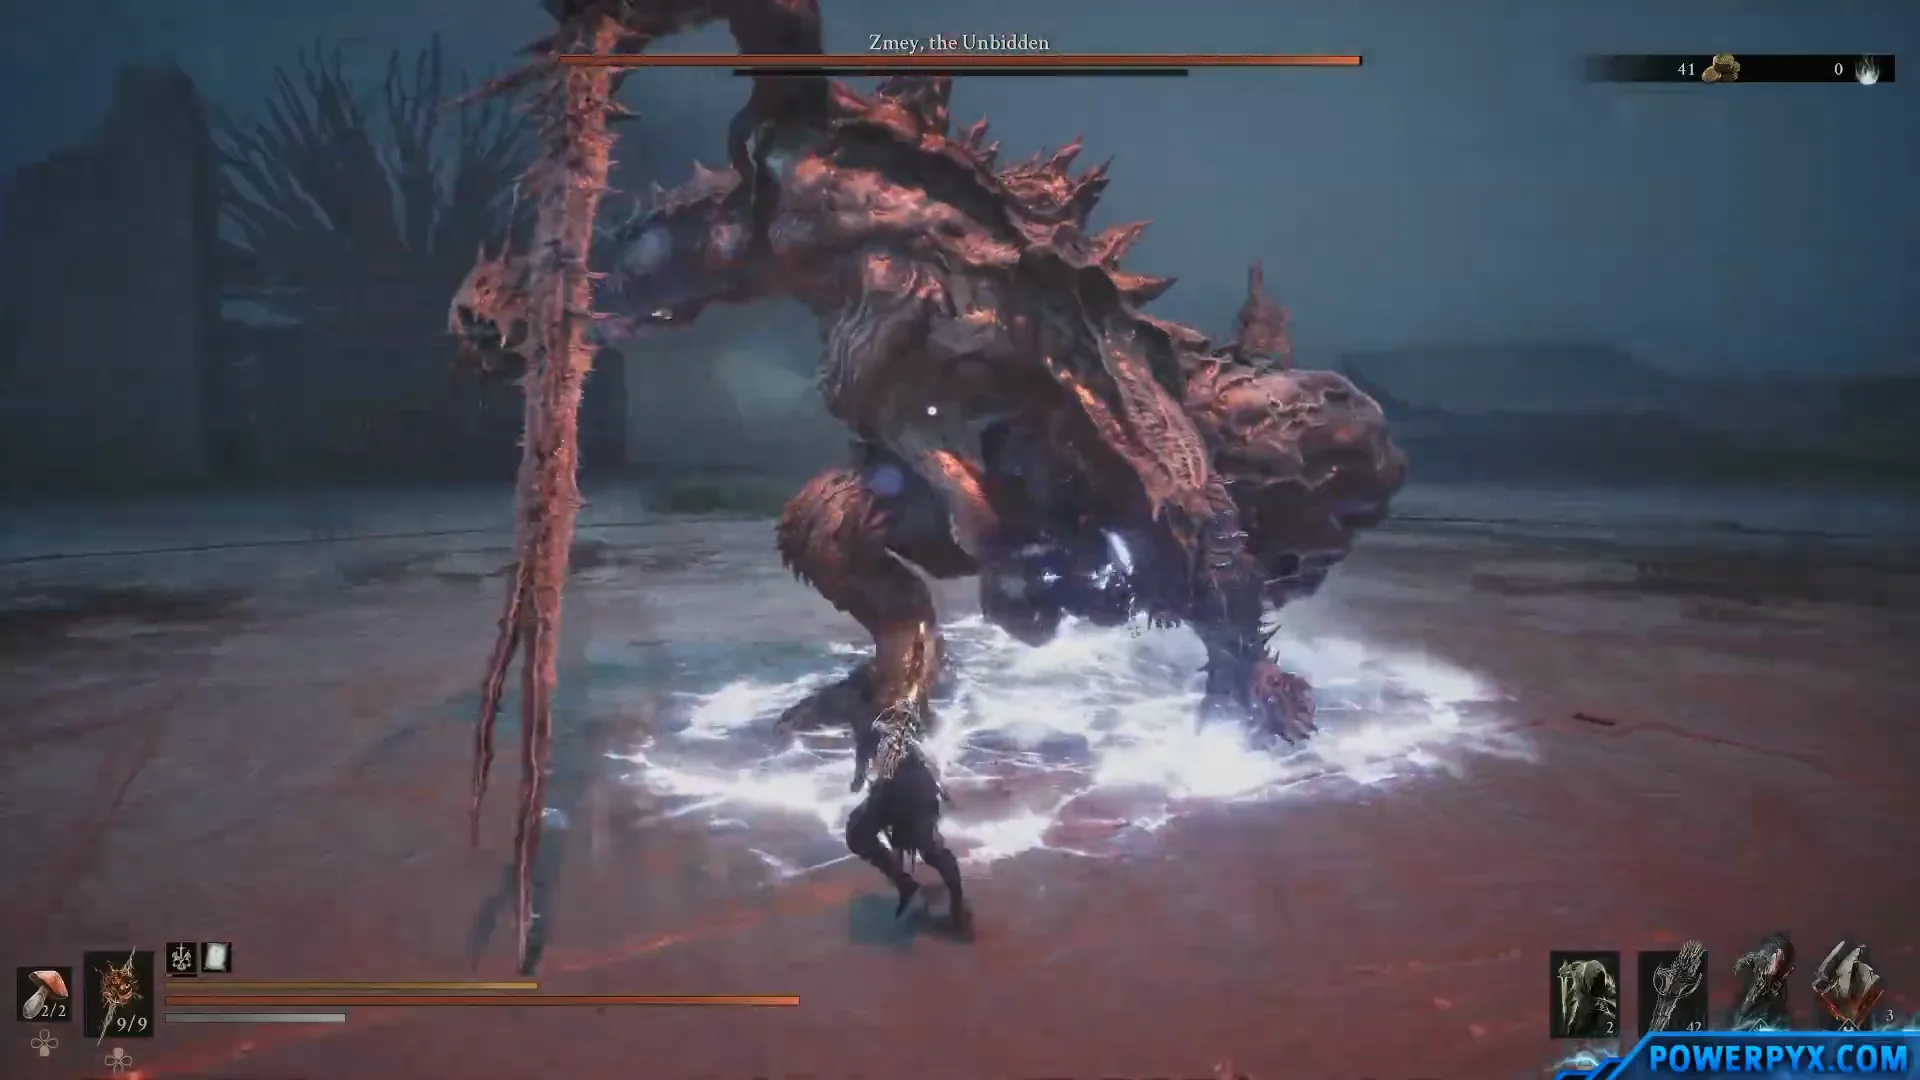
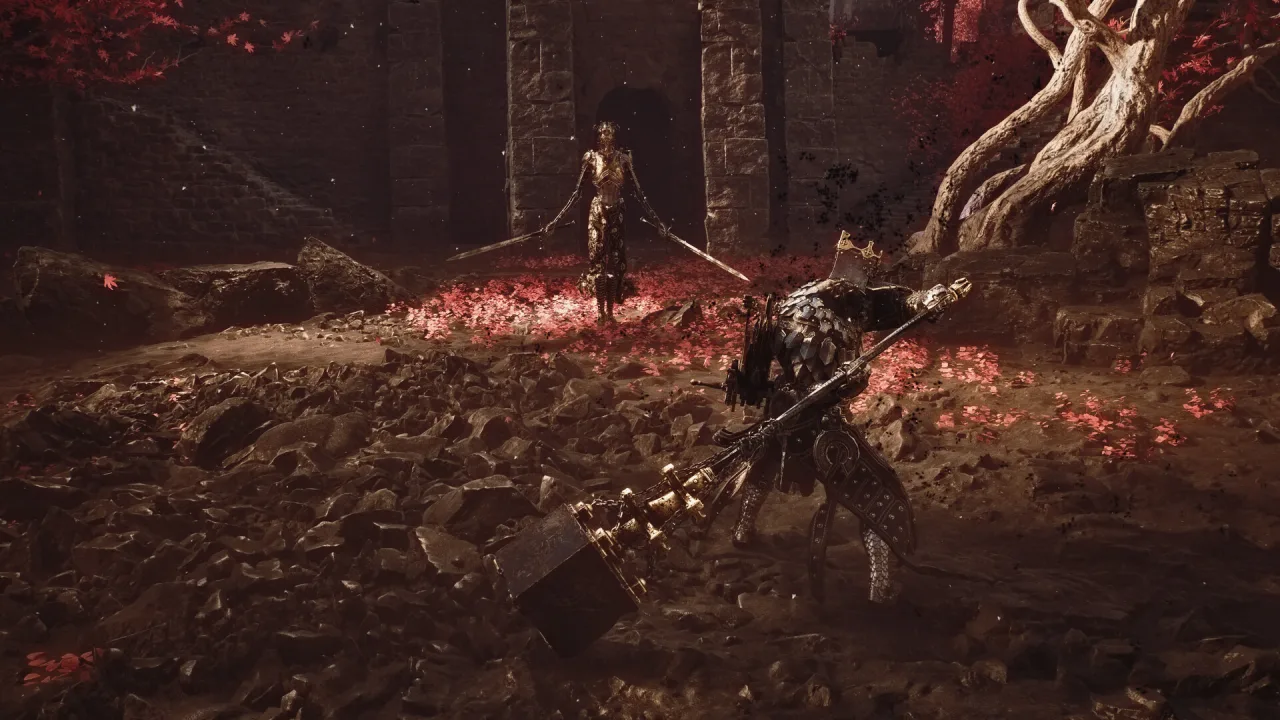
11 map fragments
- Map of Fainweald 1 — Outskirts of Nochte · None. Enter The Hag's Path north of the Beacon and pass the archway to Ruk.
- Map of Fainweald 2 — One Legged Wolf · Jump Pad. Use the bridge northeast of the tavern, take the transport bag, break out, and ride the Jump Pad to the upper citadel.
- Map of Fainweald 3 — Widow's Overlook · None. Go north beyond the Combat Trial, keep left at the branch, and cross the bridge to the statue.
- Map of Fainweald 4 — Widow's Overlook · Jump Pad. Travel southeast toward Tiel, then use the nearby Jump Pad to reach the raised island and Ruk.
- Map of Fainweald 5 — One Legged Wolf · Mether's Breath. Cross the northern bridge network from Mushroom Village Gate and climb to the statue behind the tavern route.
- Map of Mammon 1 — Abbey Entrance · Sidearm and Traversal Gate. Enter the Abbey, cross to the circular tower, and reach the statue inside.
- Map of Mammon 2 — Hall of Murmurs · Traversal Point and Starved Harridan. Take the northern stairs and elevator, defeat Starved Harridan, pass the gate, and climb right.
- Map of Mammon 3 — Gate of Infinity · Traversal Gate and lift. Use the Gate of Infinity route and lift to reach the upper station.
- Map of Mammon 4 — Gate of Mammon · Traversal Point. Climb toward the lone spire, circle the outside scaffolding, and drop into the corruption field south of it.
- Map of Mammon 5 — Outskirts of Mammon · None. Follow the west slope toward the catapult and collect the station near the route.
- Map of Mammon 6 — High Lord's Courtyard · None. Reach High Lord's Keep from Abandoned Outpost; the station sits behind the Courtyard Beacon.
Five fragments belong to Fainweald and six to Mammon. Collect all eleven Ruk stations to reveal the overworld map and complete Sat Nav.
Map decision index
The map is discovered, not automatic
Ruk map fragments reveal the regions they belong to. Entering a new road does not guarantee that the whole zone appears, so treat every fragment as a route objective and use the live map to mark the handoff.
Start with the hub layer
Marrowkeep, Widow’s Overlook and Outskirts of Mammon are the navigation spine. Activate the nearby hub routes first, then use them as recovery and fast-travel anchors before chasing optional dungeons.
Read the 49 versus 46 Beacon count
The launch Beacon route lists 49 locations, but only 46 are cleansing objectives because three locations begin active. A visible pin is not a completed Beacon: clear the encounter, take the Ova and then mark it found.
Collect a first Shell before deep cleanup
The opening map marks Proxima and Tiel as early body routes. Choose one, return to the campaign spine and keep the other Shell on the later cleanup layer so the first run does not turn into a zig-zag hunt.
Keys are destination handoffs
Chapel, Crypt and Blackmarrow keys matter because they open a route branch, not because the door is always nearby. Pair each key with its dungeon reward on the map before spending a return trip.
Follow the gate order through Fainweald
Clear the Fainweald gates before forcing the visible Mammon road. The corruption and Ova route state changes which roads are useful, so the map should answer “what opens next?” rather than only “where is this pin?”
Keep Tarforge parts beside the weapon route
The Muradean Actuator, Obsidian Lathe, Etching Needles, Foundry Stone and Endless Core belong on one upgrade lane. Bundle a pickup with its nearest Beacon and return to Marrowkeep before changing a build.
Use sidearms as a separate layer
Sidearms spend Resolve and occupy a different upgrade path from melee weapons. Reveal their markers after choosing a combat job, then route the pickup with a Beacon or dungeon you already intend to clear.
Leave Tarstones for a planned pass
Tarstones are a broad collection layer, with Berserker’s Stone carrying the documented missable warning and Etching Needles enabling upgrades. Keep them visible in full-cleanup mode, not in the first-run route.
Hide bosses until the route is ready
Boss markers are useful for campaign order and preparation, but they are spoilers during exploration. Start in low-spoiler mode with hubs, Shells and gear; reveal bosses only when you are planning the next gate or checking the endgame branch.
Mark completion after the return trip
Use the local found state after the reward, cleanse or hand-in is complete. This keeps the map honest across a long run and leaves a clear cleanup list for the free-roam window before Send Ova.
Use the named handoff as the map unit
Map and dungeon records disagree on universal totals but agree on useful route fields: nearest Beacon, entrance requirement, reward and the next destination. Mark a fragment or Beacon only after the interaction is complete, and keep boss spoilers hidden during the first campaign pass.
Sources
- Mortal Shell 2 Map Guide External guide · checked 2026-08-25
- Interactive Map: Shells, Gear & Bosses External map · checked 2026-08-25
- Mortal Shell 2 Map Fragment Locations: All 11 External route guide · checked 2026-08-28
- Mortal Shell 2: All Map Fragment Locations and Full Map Route External route guide · checked 2026-08-28
- Mortal Shell 2 All Beacon Locations Launch guide · checked 2026-08-25
- Mortal Shell 2 All Shell Locations Launch guide · checked 2026-08-25
- Mortal Shell 2 All Weapon Locations Launch guide · checked 2026-08-25
- Mortal Shell 2 All Tarforge Upgrade Locations Launch guide · checked 2026-08-25
- Mortal Shell 2 All Sidearm Locations Launch guide · checked 2026-08-25
- Mortal Shell 2 All Tarstone Locations Launch guide · checked 2026-08-25