INTERACTIVE MAP / PLAYER TOOL
Mortal Shell 2 Interactive Map
Search and filter 46 launch-route markers for Shells, melee weapons, sidearms, Tarforge upgrades, hubs and main bosses. Boss markers are hidden by default in the interactive view.
Marker types: Exact markers point to visible overworld positions; interior anchors identify the correct Beacon, dungeon or building; route anchors identify a verified quest start, campaign branch or hand-in.
Shell locations · Weapon locations · Boss order · Beacons and fast travel
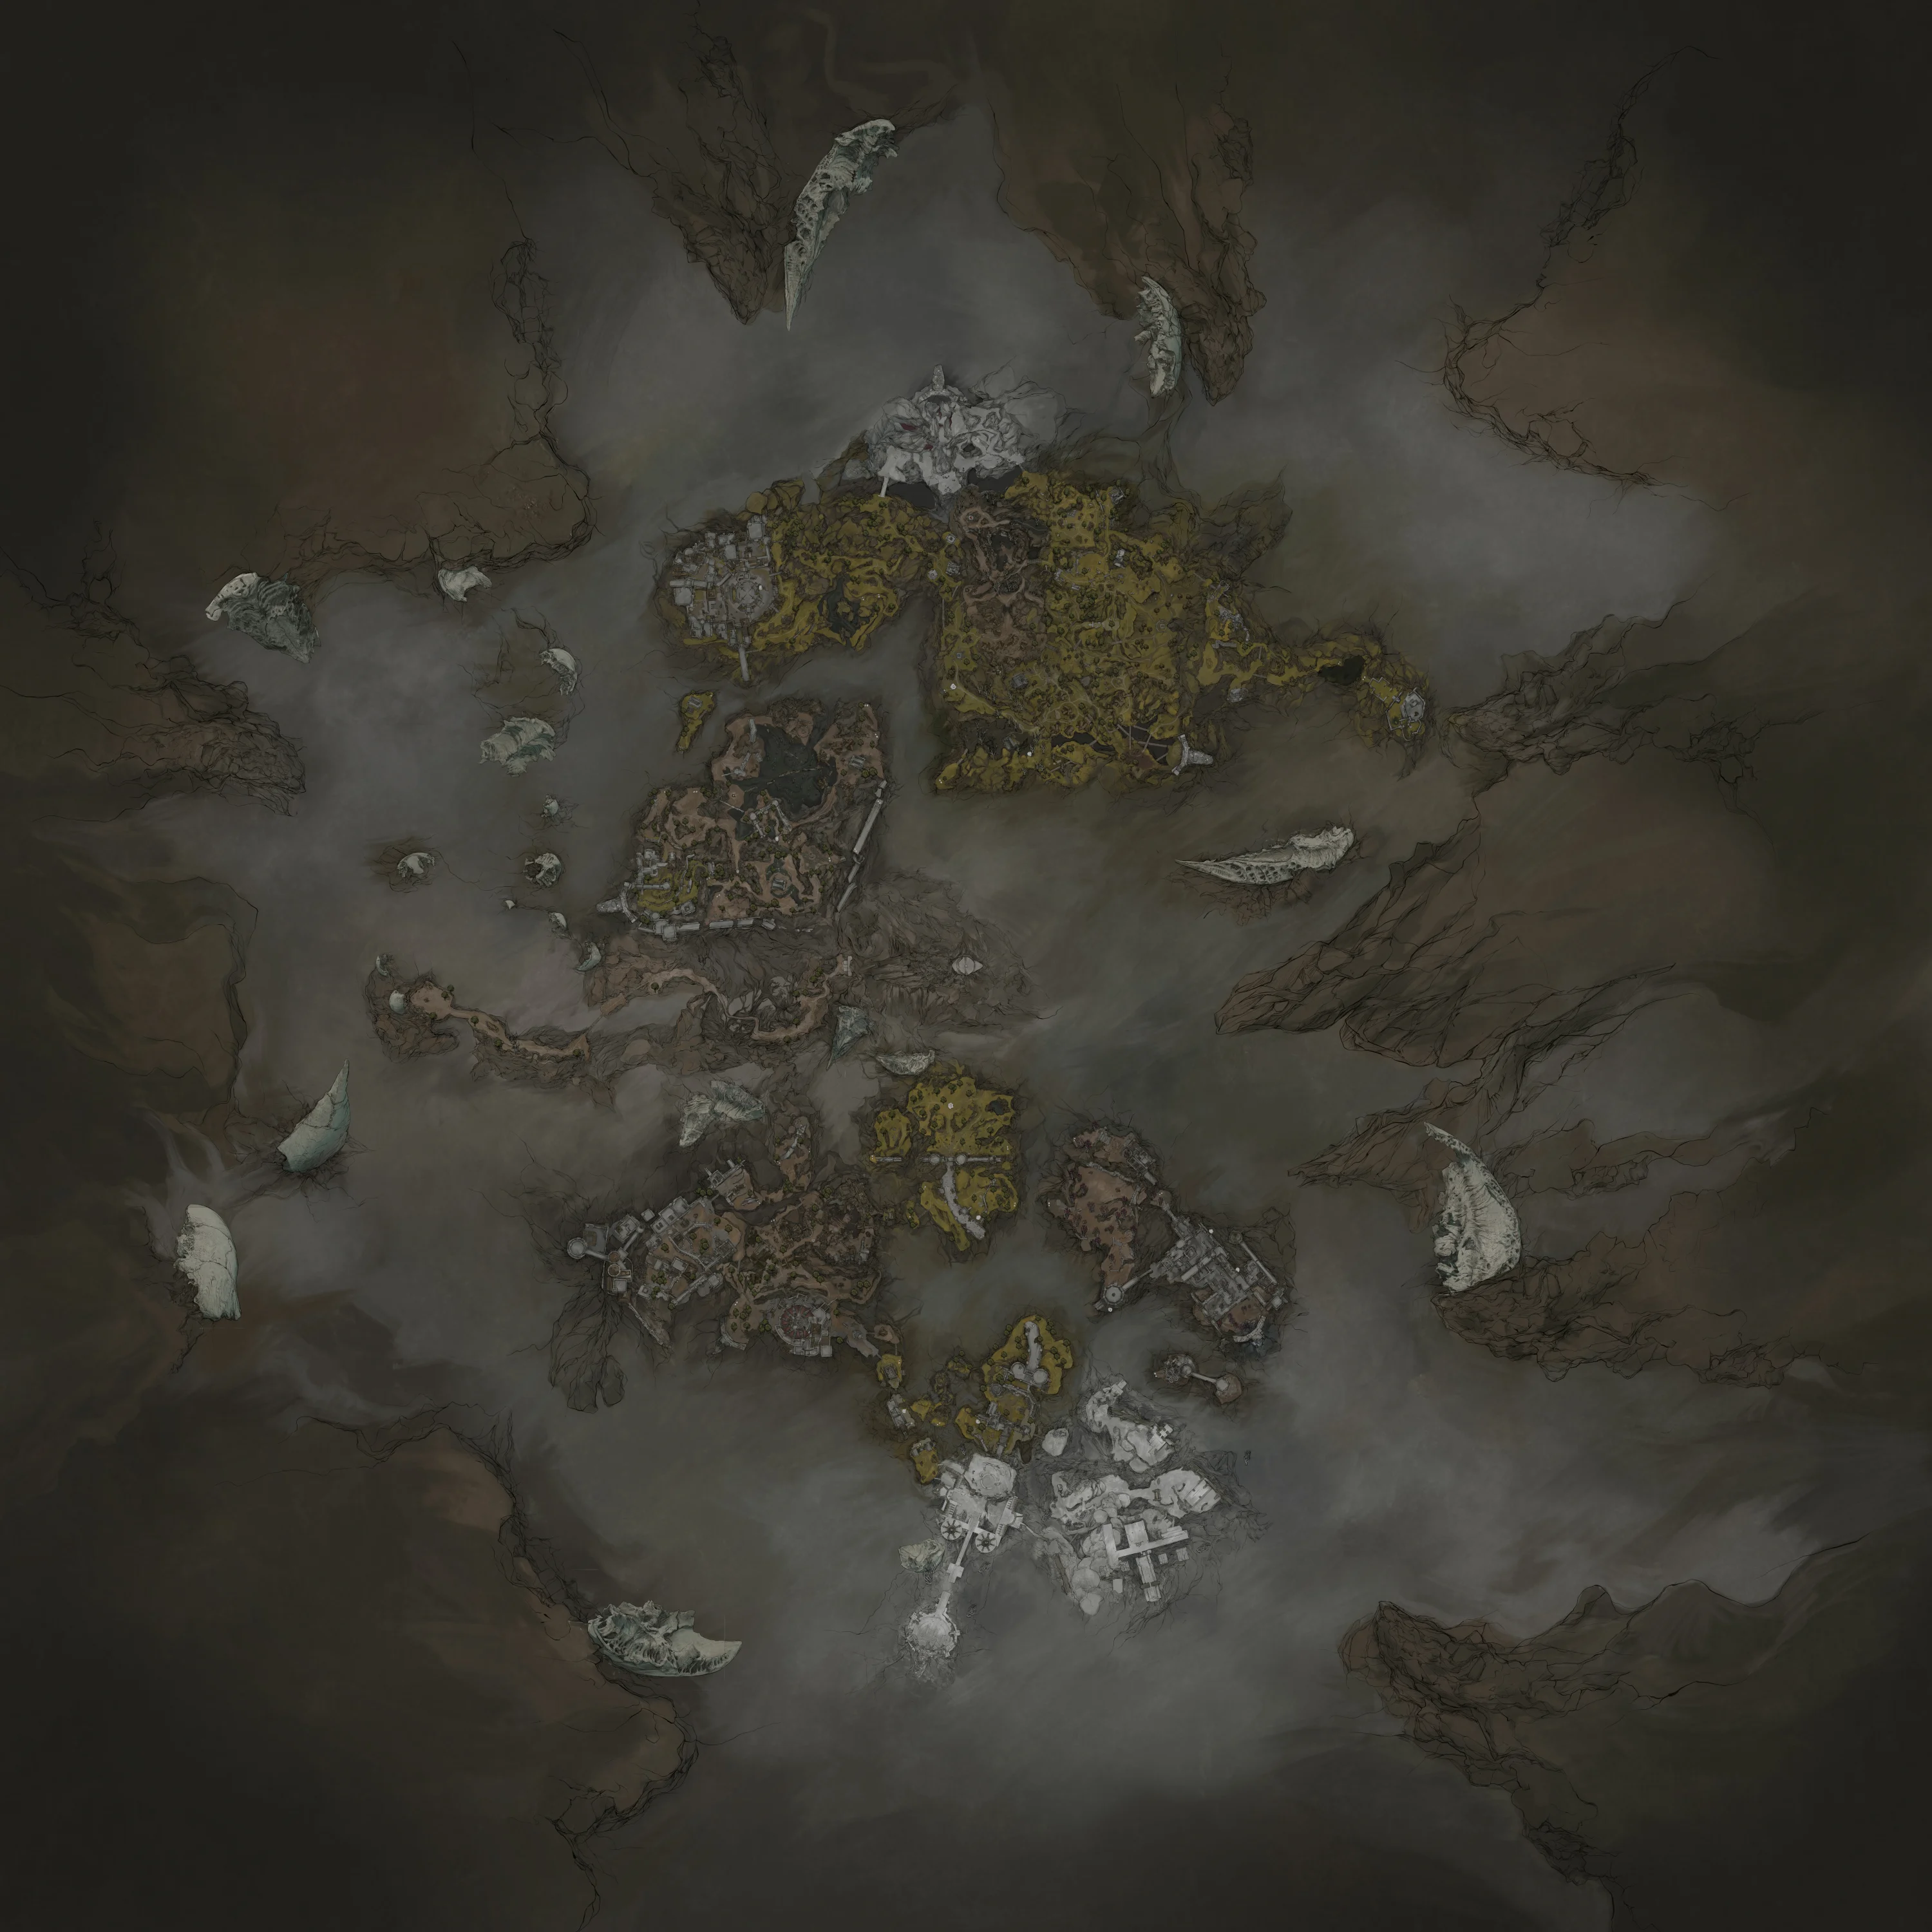
Map marker index
- Marrowkeep — Central Undermether · Exact position. Main hub for the Gloom Siphon, Shellkeeper and Tarforge. Open guide
- Tarforge — Marrowkeep · Exact position. Upgrade station for weapons, sidearms and Tarstones. Open guide
- Widow’s Overlook — Fainweald · Exact position. Opening world anchor for Tiel, Proxima and the Gloombound Flame. Open guide
- Mushroom Village Gate — Fainweald · Exact position. Early corrupted gate and regional progression anchor. Open guide
- One-Legged Wolf — Fainweald · Exact position. Tavern and Temple of Vatra route anchor for Gragu. Open guide
- Outskirts of Mammon — Ruins of Mammon · Exact position. Mammon route anchor for Genessa, Obsidian Hammer and Foundry Stone. Open guide
- Sester’s Gate — Ruins of Mammon · Exact position. Beacon route for Black Needle and Cursed Child. Open guide
- Proxima — Shattered Beacon via Blackridge Pass · Interior anchor. A first-hour Shell route near the Blackridge Pass Beacon, with a dungeon-body interaction at the end of the path. Open guide
- Tiel — Southeast of Widow’s Overlook Beacon · Exact position. An early Shell found in the marked search area southeast of Widow’s Overlook, with a dodge-focused role in current guide research. Open guide
- Eredrim — Citadel of Penance, after The Warden · Interior anchor. A heavy Shell reached through the Citadel of Penance route and its Warden encounter. Open guide
- Gragu — One-Legged Wolf Tavern after Heart of Vatra · Route anchor. A tavern route that requires the Heart of Vatra before the Shell becomes available. Open guide
- Smert — Three blood pools southwest of Outskirts of Nochte · Exact position. A Shell route built around three blood pools and a body near the statue. Open guide
- Sariel — Silent Steps, then Chamber of Becoming · Interior anchor. A multi-stage Shell route that continues from the first Sariel encounter into the Chamber of Becoming. Open guide
- Lazlo — Royal Crypt of Mammon after Vellen · Interior anchor. A late Shell found behind the Vellen, High Lord of Mammon encounter. Open guide
- Genessa — Marrowkeep after Sester Secundus · Route anchor. Genessa is both the Shellkeeper NPC and one of the eight selectable Shells in the launch guide; the unlock uses Sester’s Censer. Open guide
- Iconoclast — Prologue weapon · Route anchor. Opening two-hander and documented Bloodcurse carrier; obtained during the prologue. Open guide
- Axe & Dagger — Early dual-wield · Interior anchor. An early paired weapon associated with the Duality job. Open guide
- Veteran's Battle Axe — Early heavy · Interior anchor. An early heavy option with a documented running-heavy identity. Open guide
- Great Martyr's Blade — Mid-game greatsword · Interior anchor. A slow greatsword whose documented job is frost control. Open guide
- Obsidian Hammer — Late stagger weapon · Interior anchor. A late hammer associated with stagger, Trauma and Stasis. Open guide
- Axatana — Late dual-wield · Interior anchor. A fast late paired weapon associated with Duality, Voltaic and Stasis. Open guide
- Black Needle — Late spear · Interior anchor. A late spear associated with the Phantom infusion and stagger burst. Open guide
- Clockwork Scythe — Late reaper · Interior anchor. A late multi-hit weapon with Resolve-spending and draining special options. Open guide
- Nayleshotte — Sidearm · Interior anchor. Automatically obtained during the prologue. Open guide
- Forgotten Crossbow — Sidearm · Interior anchor. Flooded Village dungeon, northwest of Blackridge Pass. Open guide
- Salvaged Trebuchaxe — Sidearm · Interior anchor. Ravaged Hideout, south of Gloomshade Grove. Open guide
- Troubadour's Lute — Sidearm · Exact position. One Legged Wolf Tavern. Open guide
- Triarch Repeater — Sidearm · Interior anchor. Blackwell Cavern, north of Castigator’s Keep. Open guide
- Ballistazooka — Sidearm · Interior anchor. Sentry’s Grave, northwest of Gate of Mammon. Open guide
- Cursed Child — Sidearm · Interior anchor. Revered Beacon dungeon near Sester’s Gate. Open guide
- Caged Hystrix — Sidearm · Interior anchor. Chamber of Becoming after Sariel. Open guide
- Muradean Actuator — Village Outskirts · Interior anchor. Unlocks melee weapon upgrading at the Marrowkeep Tarforge. Open guide
- Obsidian Lathe — Martyr’s Tomb · Interior anchor. Unlocks sidearm upgrading. Open guide
- Etching Needles — Glutted Mire · Route anchor. Unlocks two Tarstone upgrade ranks. Open guide
- Foundry Stone — Outskirts of Mammon · Route anchor. Removes weapon and sidearm upgrades and returns materials. Open guide
- Endless Core — The Hidden Nave · Interior anchor. Raises the weapon and sidearm level ceiling to +17 and above. Open guide
- Magdalena, the Lady of the Woods — Glutted Mire · Route anchor. Avoid the spiked front and lingering fire; pressure the rear and clear the one-time add wave. Open guide
- The Lost Child — Sanguine Caverns · Route anchor. Read the bite and arm-swipe windups, then move laterally during the ranged goop sequence. Open guide
- The Nameless Captive — Prisoner’s Domain · Route anchor. A parry-focused fight with a seven-hit second-phase spin tied to Peter’s Perfect Parry. Open guide
- Droeg, the Conquerer — Conquered Temple · Route anchor. A slow frost boss whose turns create rear openings; use arena cover against the later tracking projectiles. Open guide
- Hexapod — Withered Shoals · Route anchor. Most pressure comes from the front appendages; Harden and ranged face shots simplify the unclear tells. Open guide
- Sir Isaac, the Scholar-Prince — Faded Citadel · Route anchor. Parry the readable sword phase, then switch to a safer Harden or distraction plan when the shield drops. Open guide
- Malborn Offspring — The Unfound Path, first fight · Route anchor. Two full health bars, fast multi-hit strings and lethal grabs make this the first endgame endurance check. Open guide
- The Monolith — The Unfound Path, second fight · Route anchor. Damage the center target, respect the phase-specific slam counts and move with the rotating laser pattern. Open guide
- Orrem, the Reclaimed — The Unfound Path, third fight · Route anchor. The first form mirrors Tar Golem with Bloodcurse; the second form rewards staying close and dodging under arm slams. Open guide
- Zmey, the Unbidden — The Unfound Path finale · Route anchor. A long dragon fight where Cosmic Disease resistance and disciplined positioning matter more than burst damage. Open guide
Map sources
- Mortal Shell 2 All Shell Locations Launch guide · checked 2026-08-25
- Mortal Shell 2 All Weapon Locations Launch guide · checked 2026-08-25
- Mortal Shell 2 All Sidearm Locations Launch guide · checked 2026-08-25
- Mortal Shell 2 All Tarforge Upgrade Locations Launch guide · checked 2026-08-25
- Mortal Shell 2 Boss Guide: All 11 Main Bosses Launch guide · checked 2026-08-25